Get Started with ReadingFluency.app
ReadingFluency.app is a web-based platform for reading fluency assessments, progress monitoring, and benchmarking.
Designed for primary classroom or ELA teachers, reading specialists, interventionists, and literacy coaches.
Features include passage generation, live classroom sessions, automated scoring (accuracy and words-per-minute), and data visualization for educational intervention.
Contents
- Prerequisites
- Setup
- Teacher Guides
- Student Guides
- Support
Prerequisites
- A web browser (Chrome, Firefox, Safari, Edge)
- A computer or mobile device with an internet connection
- A microphone and webcam (for live classroom sessions)
- A stable internet connection
Setup
- Visit the ReadingFluency.app website.
- Click on the "Try Pilot Preview" button (or "Login" if you have an account).
- Choose "Teacher Sign In".
- You can sign in with Google or create an account with email and password.
Teacher Guides
How to manage passages
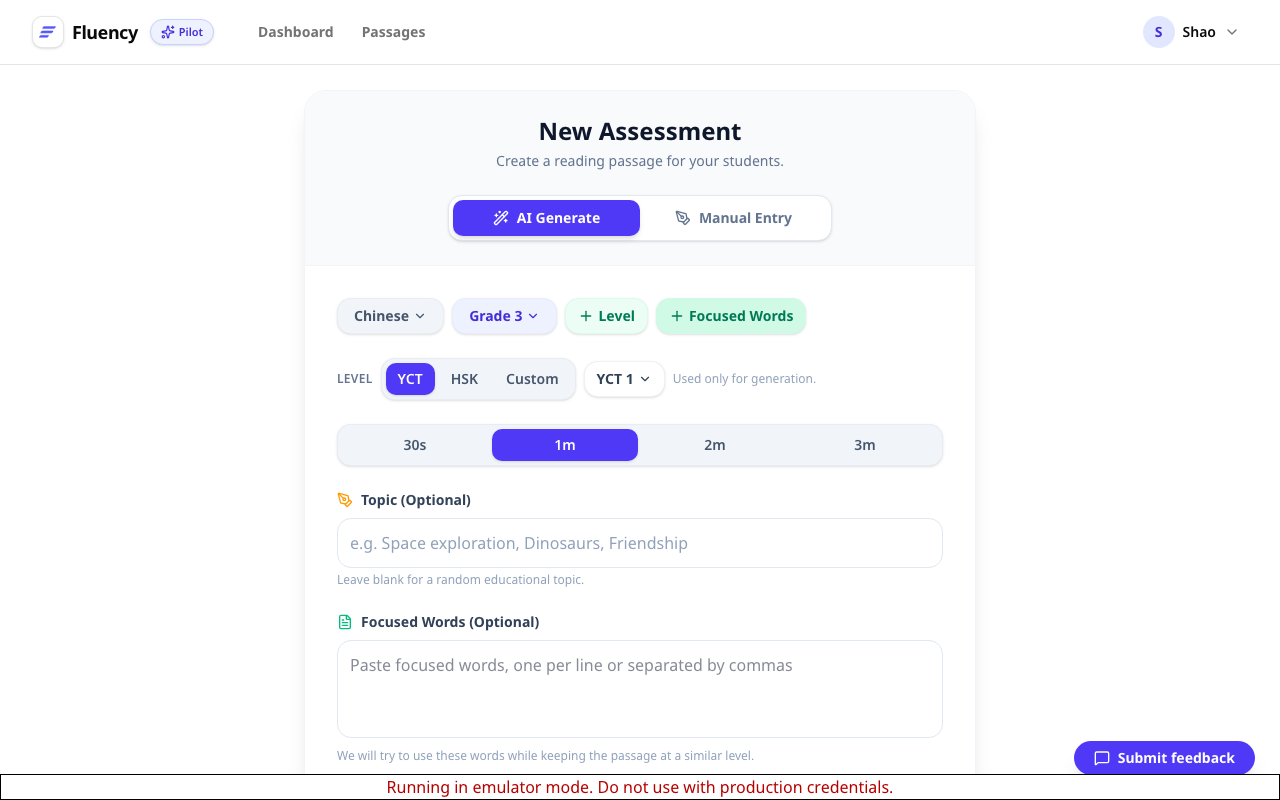
How to create a passage
- Navigate to creation:
- Choose a mode:
- AI Generate: Select Grade, Language, Duration, and optional Topic. The AI will write a unique passage and generate a cover image.
- Level & Vocabulary: For supported languages (like Chinese), click Level to choose a proficiency standard (e.g., HSK, YCT) and Focused Words to include specific vocabulary.
- Manual Entry: Paste your own text. You can enter a title manually or click "Auto-Fill Title & Cover" to have AI suggest them based on your text.
- AI Generate: Select Grade, Language, Duration, and optional Topic. The AI will write a unique passage and generate a cover image.
- Save: Click "Generate & Start" (AI) or "Save & Start" (Manual) to create the passage and immediately prepare for an assessment.
How to import multiple passages
- Go to the Passages page.
- Click the "Manage Passages" button (three horizontal dots) next to the search bar.
- Select "Import CSV".
- Upload a CSV file with the following columns (header row required):
Title,Text,Grade,Language,Tags- Example:
"My Story", "Once upon a time...", "Grade 3", "English", "Fiction"
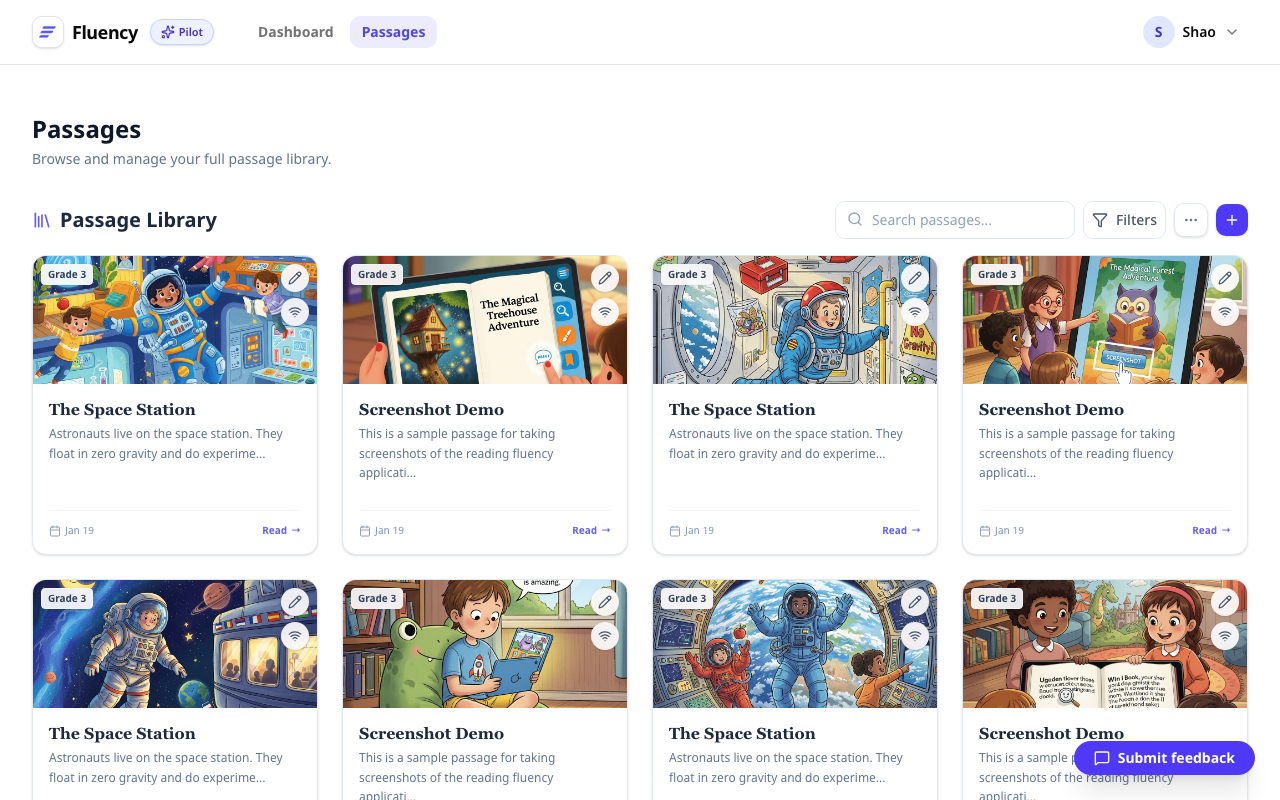
How to edit a passage
- Go to the Passages library.
- Locate the passage card you want to modify.
- Click the Edit (pencil) icon on the card.
- Update the text, title, or tags.
- Click "Save Changes".
- Note: Edits will not affect assessments that were already completed using the previous version of the passage.
How to delete a passage
- Open the passage in Edit mode (see above).
- Click the "More Options" (three vertical dots) menu in the top right corner.
- Select "Delete Passage" and confirm.
- Note: Deleting a passage does not delete the student assessments associated with it.
How to manage students
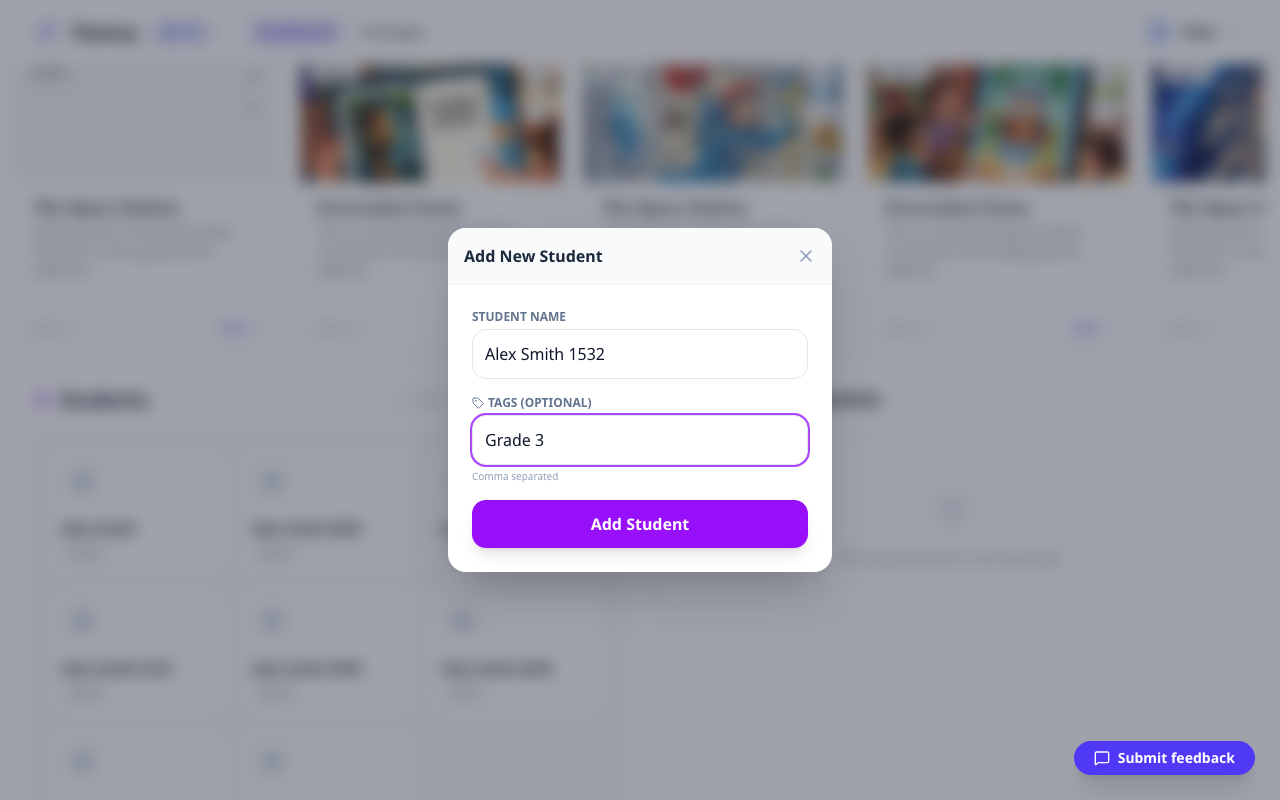
How to add a student
- On the Dashboard, find the "Students" section.
- Click the "Add Student" (user with plus sign) button.
- Enter the student's Name (e.g., "Alex Smith").
- Optionally add Tags (e.g., "Grade 3, Group A") to help filter your roster later.
- Click "Add Student".
How to import multiple students
- In the "Students" section on the Dashboard, click the "Manage Students" (three horizontal dots) button.
- Select "Import CSV".
- Upload a CSV file with the following format:
Name,Tags(comma-separated in the Tags column)- Example:
Alex Smith,"Grade 3, Group A"
How to find and filter students
- Search: Use the search bar in the "Students" section to find students by name.
- Filter: Click the Filter icon to select specific tags (e.g., only show "Group A").
How to view students' progress
- Click on a student's card in the Dashboard roster.
- The Student Detail page shows:
- Performance Trend: A chart comparing Fluency Score (%) vs. Words Per Minute (WPM) over time.
- History: A list of all past assessments for that student. Click any row to view the full report.
How to delete a student
- Navigate to the Student Detail page for the student.
- Click the "More Options" (three vertical dots) menu in the top right.
- Select "Delete Student".
- Warning: This will permanently delete the student profile and ALL their assessment history.
How to manage assessments
How to start an 1:1 oral reading fluency assessment
- Select Passage: From the Dashboard, click "Read" on any passage card.
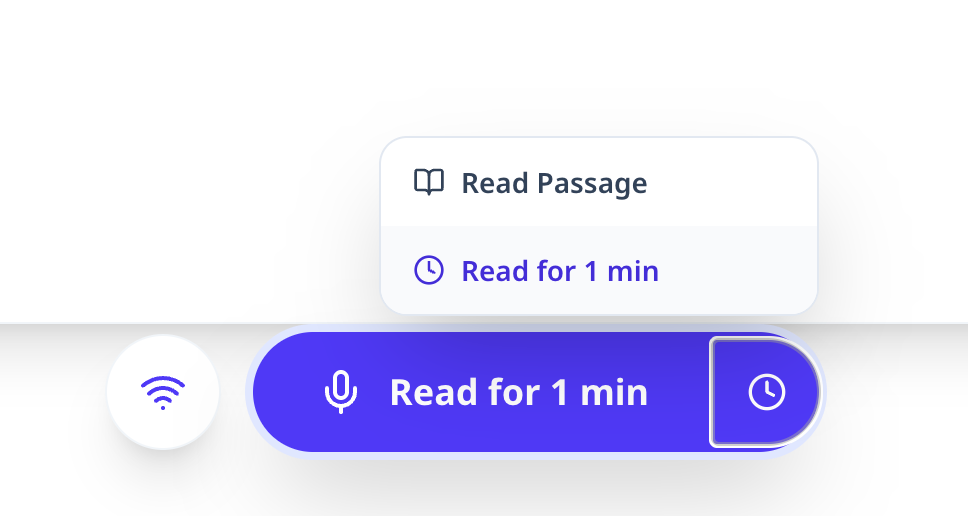
- Configure:
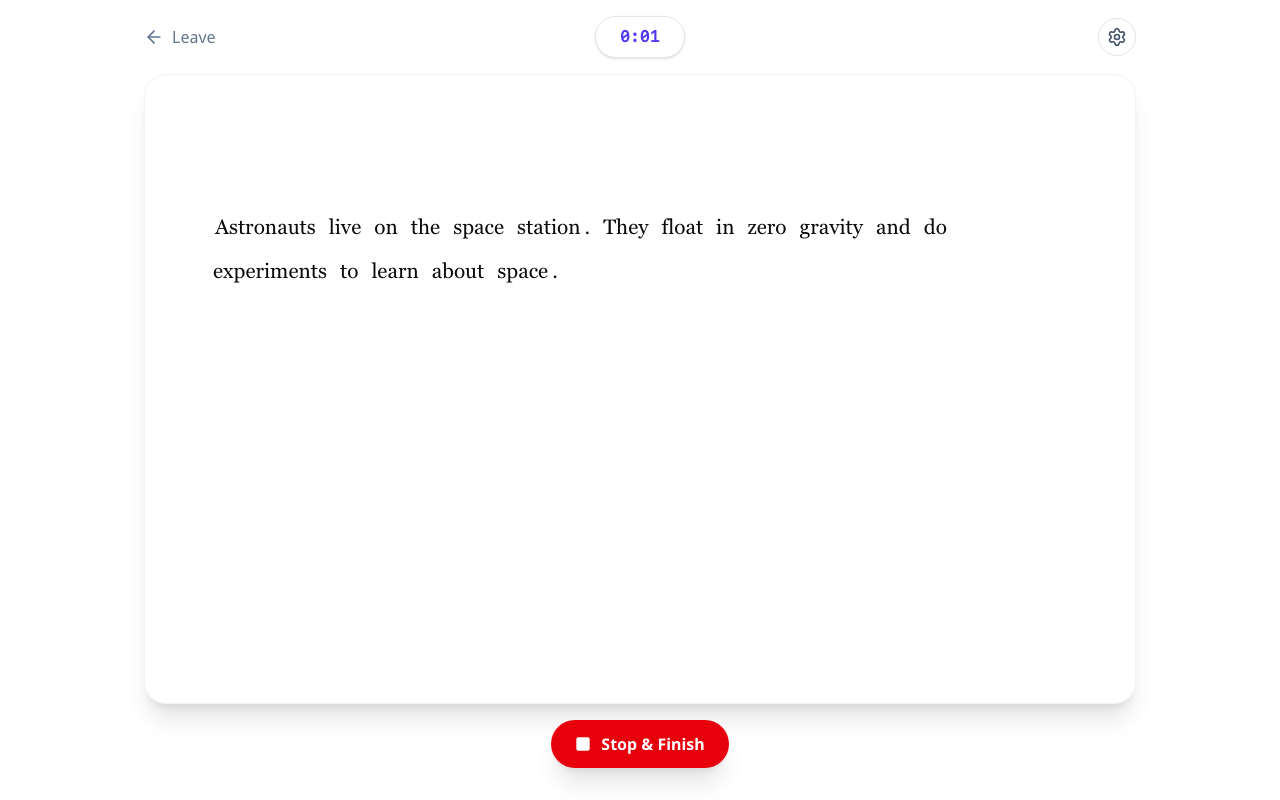
- Mode: Choose "Read Passage" (open-ended) or "Time-Limited" (e.g., 1 minute).
- Settings: Click the gear icon to adjust font size, font family (Serif/Sans/Mono), and line height for accessibility.
- Mode: Choose "Read Passage" (open-ended) or "Time-Limited" (e.g., 1 minute).
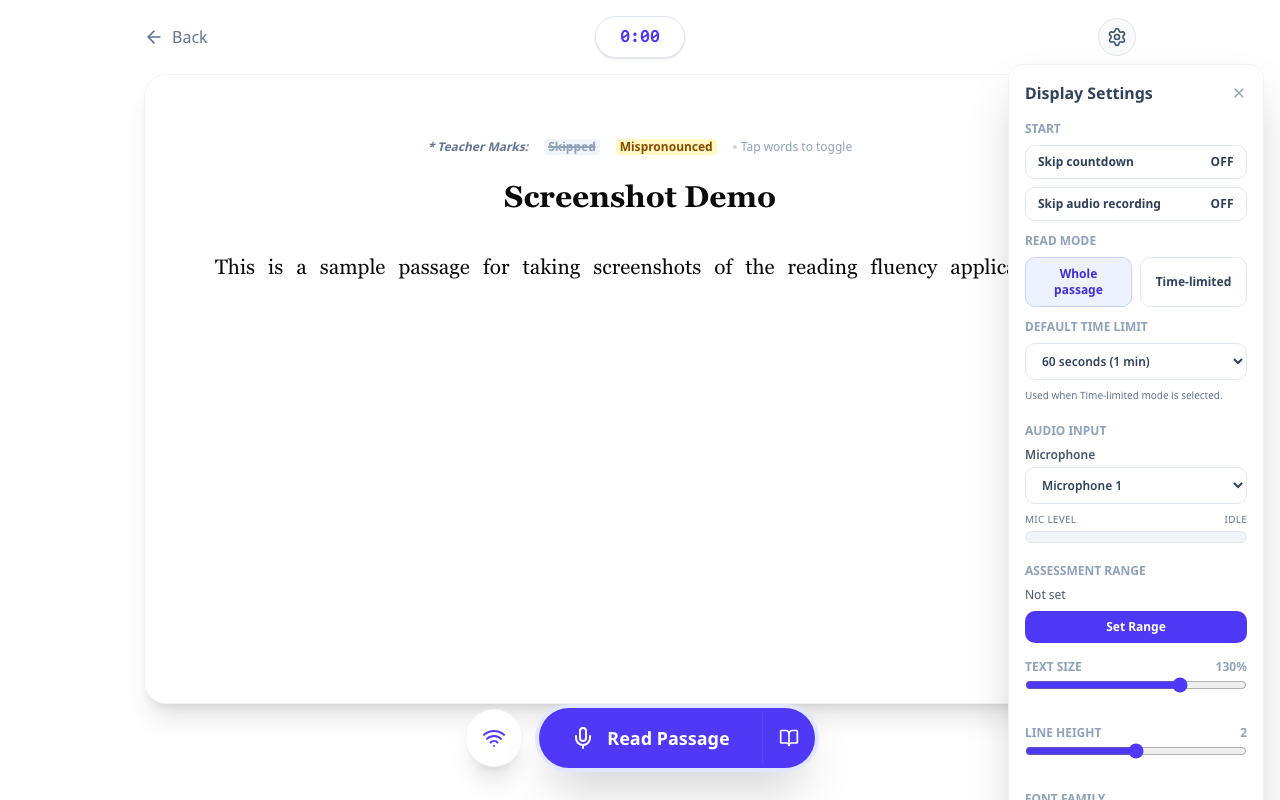
- Record: Click the Start button. The microphone will activate after a countdown (unless skipped in settings).
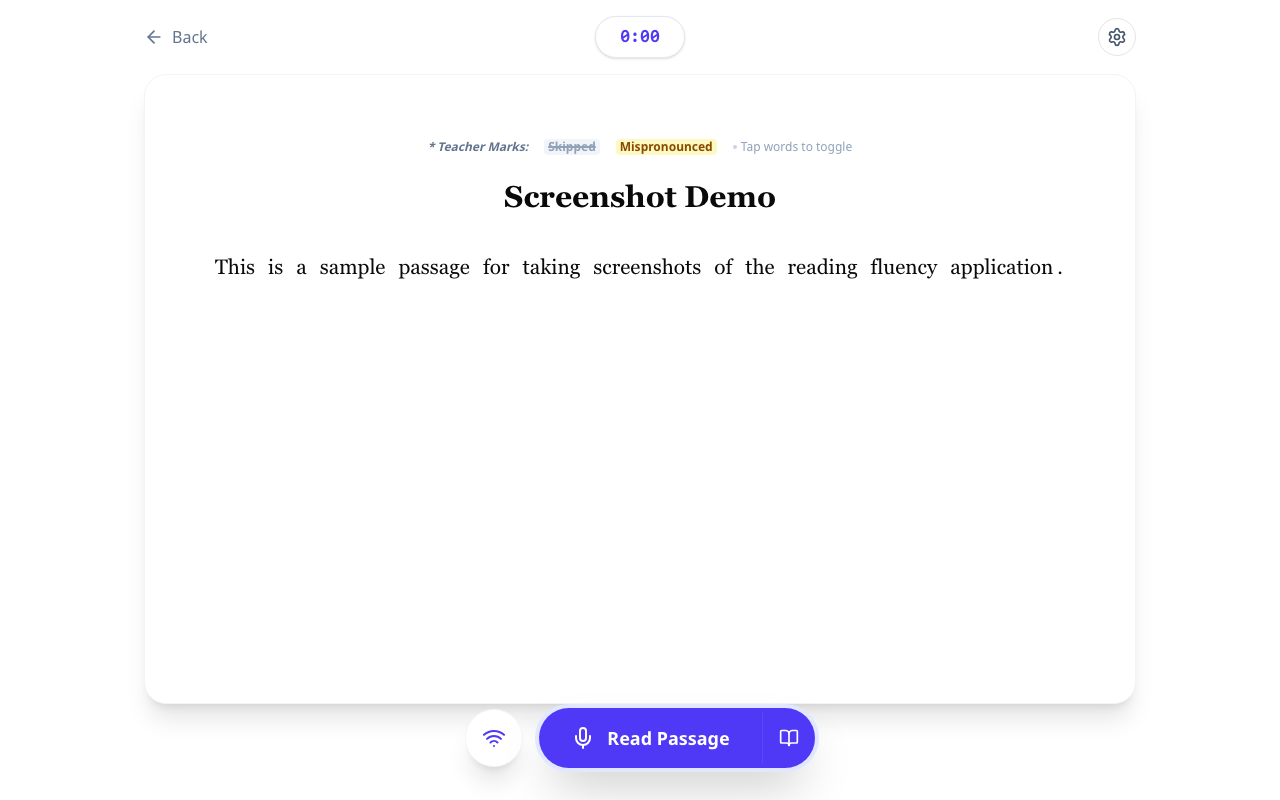
-
Marking: As the student reads, tap words on the screen to mark errors:
- 1st click: Mispronounced (Yellow)
- 2nd click: Skipped (Gray/Strikethrough)
- 3rd click: Reset to Correct
-
Finish: Click "Stop & Finish" when done.
-
Assign: On the result page, use the dropdown at the top to assign this assessment to a specific student.
-
AI Analysis & Feedback:
-
Run Analysis: If you recorded audio, click the "Run AI analysis" button to instantly score the reading.
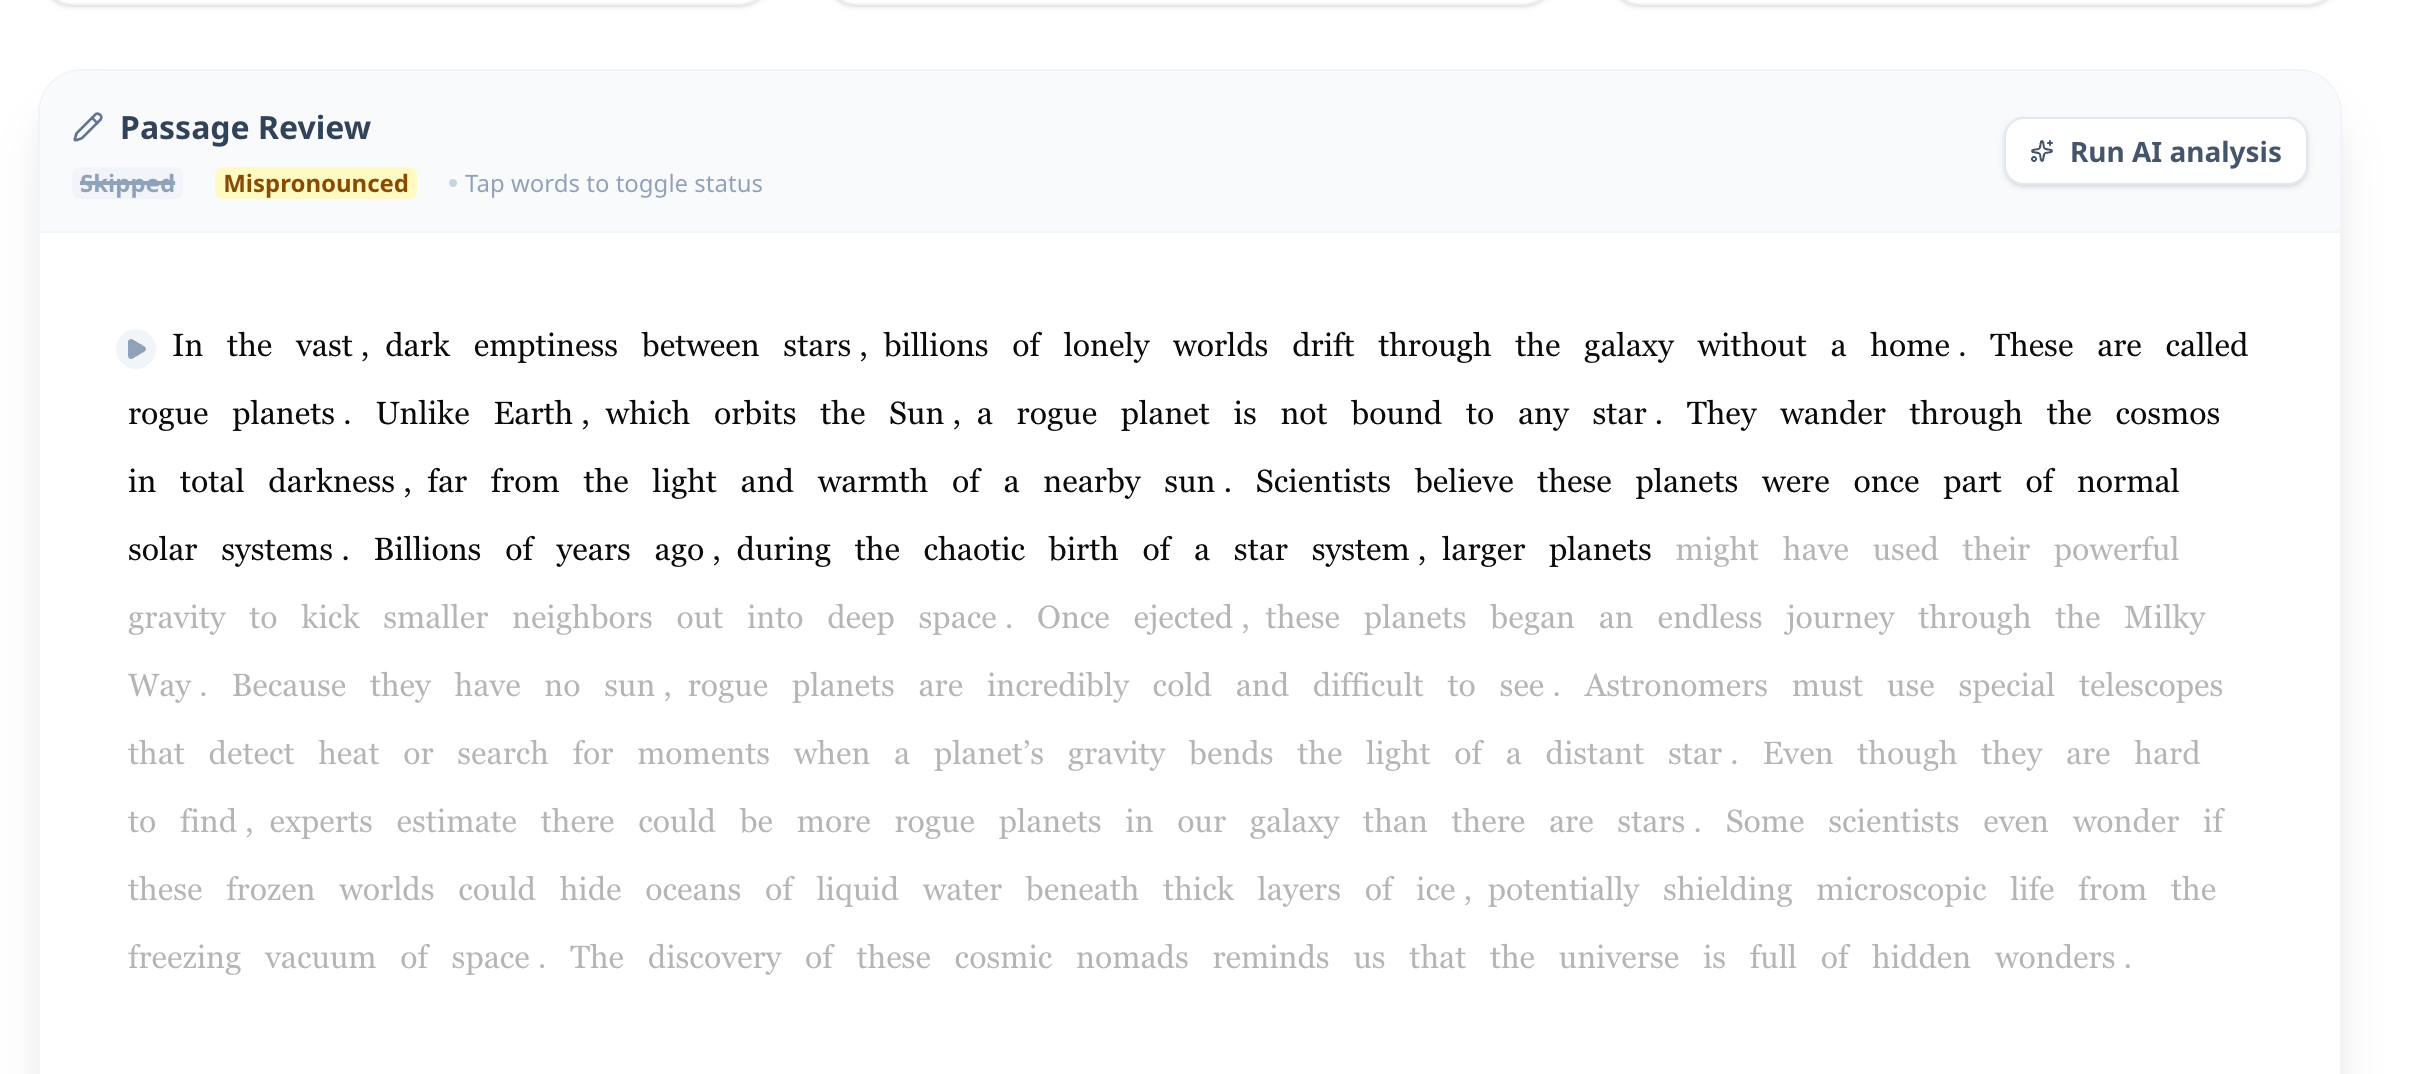
-
Review Results: The AI provides a detailed breakdown:
- Fluency Score (Accuracy): The percentage of words read correctly (
Total Words - Miscues). - Reading Rate (WPM): Words Correct Per Minute, calculated based on the actual duration of speech.
- Feedback Summary: A qualitative summary of the student's expression, pacing, and specific words to practice.
- AI Markings: The passage text is automatically marked. Yellow indicates mispronounced words.
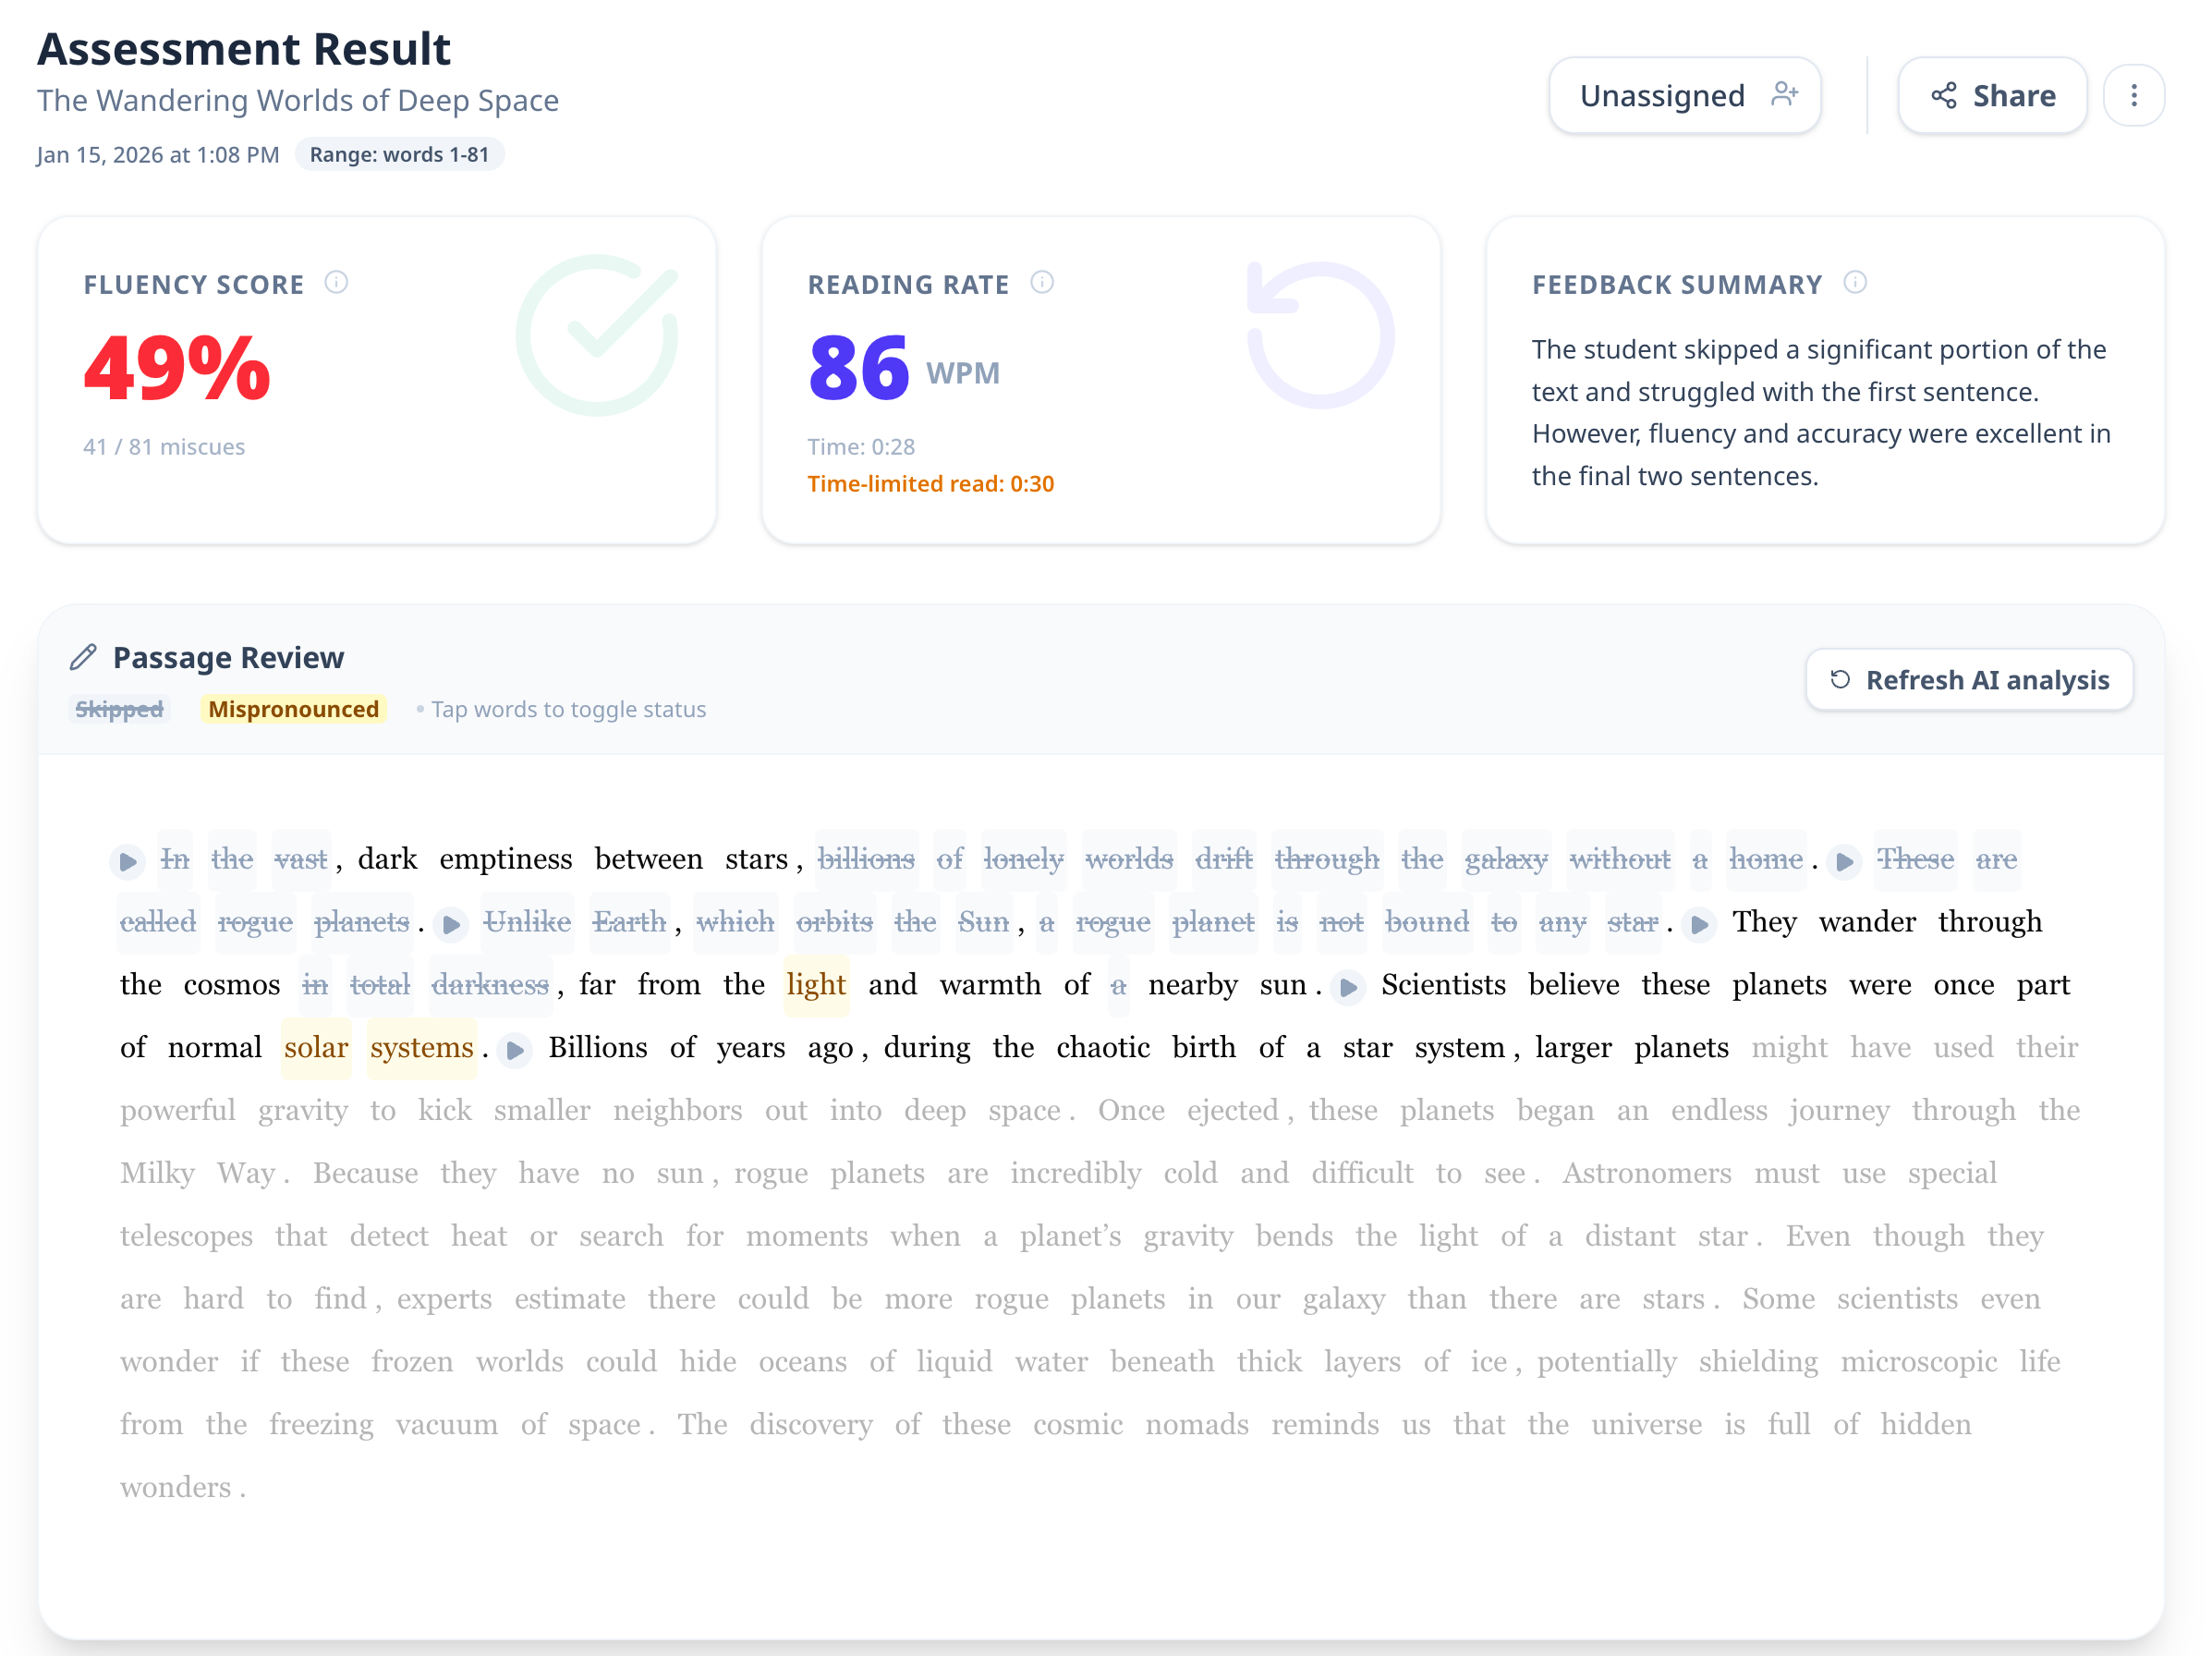
- Fluency Score (Accuracy): The percentage of words read correctly (
-
-
Manual Feedback & Blending:
- Blend Scores: You can tap words on the passage to add your own marks (Yellow for mispronounced, Gray for skipped). These manual marks override the AI's detection and automatically update the WPM and Accuracy scores.
- Teacher Notes: Enter qualitative observations or goals in the "Teacher Notes" box. These are saved automatically.
-
Share: Click "Share" to generate a secure link for parents. You can choose whether to include your teacher notes in the shared report.
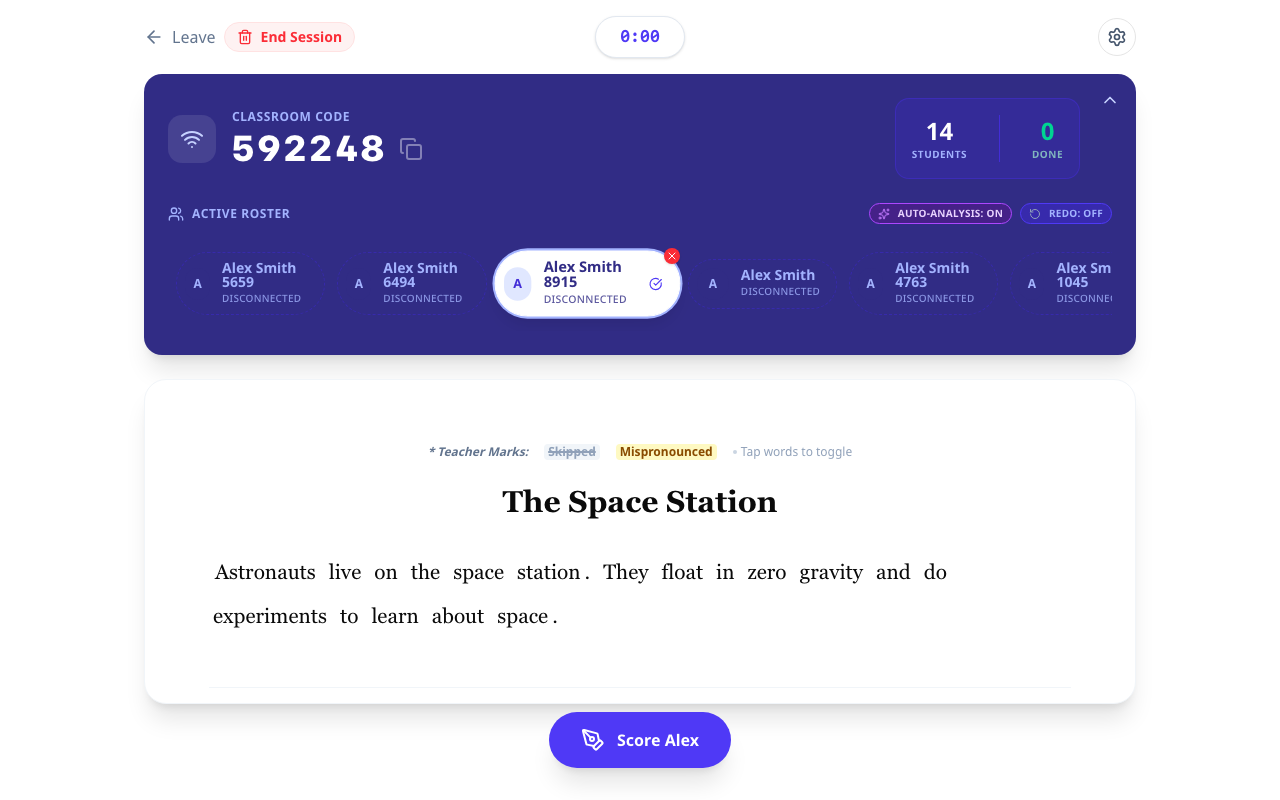
How to start a live group oral reading fluency assessment session
- Launch: Click the Host Live Session (wifi icon) on any passage card.
- Select Roster: Choose which students will participate (or "Select All").
- Settings:
- AI Auto-Analysis: Automatically score readings when students submit.
- Allow Redo: Let students re-record their attempt before submitting.
- Start: Click "Start Session".
- Student Join: Show the 6-digit Room Code to your students.
- Monitor: Watch the live dashboard.
- Status indicators: Disconnected, Ready, Reading, Submitted.
- Click a student's name to manually score them in real-time as they read.
- Close: Click "End Session" when finished.
- Note: Submitted assessments are saved to your account automatically.
How to delete an assessment
- Open the assessment report.
- Click the "More Actions" (three vertical dots) menu.
- Select:
- Delete audio: Removes the recording file to save space but keeps the score data.
- Delete assessment: Permanently removes the entire record.
How to manage group reading sessions
How to create a group reading session
- Start from a passage card:
- On the Dashboard or Passage Library, click Host Live Session (wifi icon) on a passage card.
- Or start from the assessment view:
- In a local reading view, click Host Remote Session (wifi icon).
- Select your roster:
- Use search, filters, or Select All to choose which students to invite.
- Configure settings:
- AI Auto-Analysis automatically scores submissions.
- Allow Redo lets students re-record before submitting.
- Start: Click Start Session to generate the Classroom Code and open the live roster.

How to mark a student's reading while group reading session is in progress
- In the live session view, check the Active Roster row to see each student's status (Ready, Reading, Submitted).
- Click a student's name to focus their attempt.
- Click Score [Student] to open the scoring view.
- Mark miscues by tapping words (same rules as 1:1 assessments).
- Click Finish Scoring when done. The report is saved to that student.
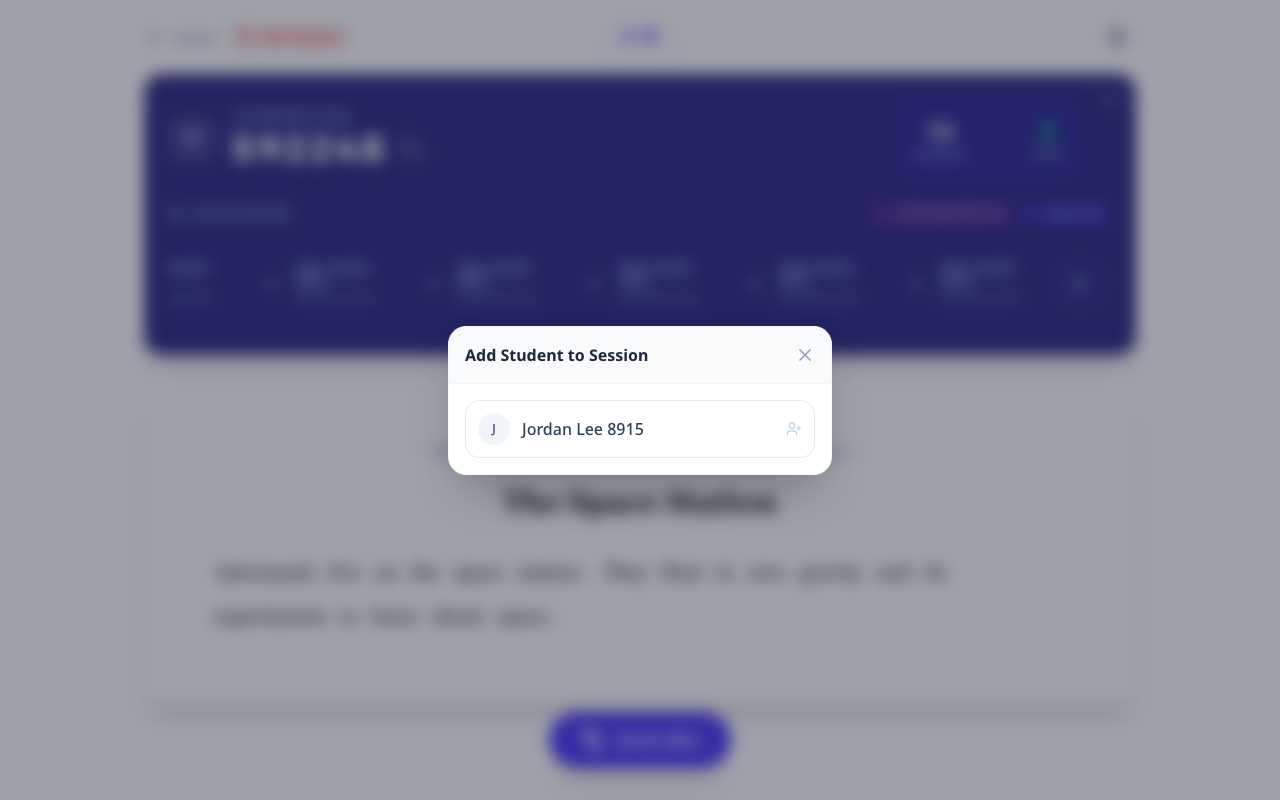
How to add and remove students to a group reading session
- Click Add Student in the roster bar.
- Choose any students not already in the session and confirm.
- To remove a student, click the X on their roster chip and confirm.
- Removed students will not appear in the session until you add them again.
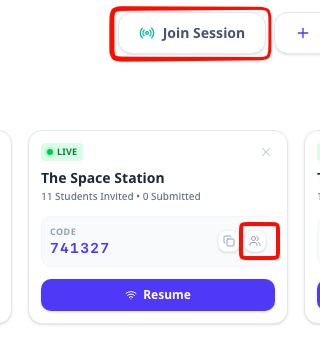
How to join group reading session as a student from the teacher dashboard
- In Active Sessions, click the Join as student (people icon) on the session card to open a student view with the code prefilled.
- Or click the code block to copy it, then click Join Session on the Dashboard and paste the code.
- Select the student's name from the roster to enter the session.
How to close a group reading session
- In the live session view, click End Session (trash icon) and confirm.
- Or from the Dashboard's Active Sessions card, click Close Session (X).
- Closing a session ends the live room but keeps all submitted assessments and recordings.
Student Guides
How to join a group reading session
- Go to ReadingFluency.app (or the login page).
- Click "I am a Student".
- Enter the 6-digit Class Code provided by your teacher.
- Click "Join Session".
- Select your name from the class list.
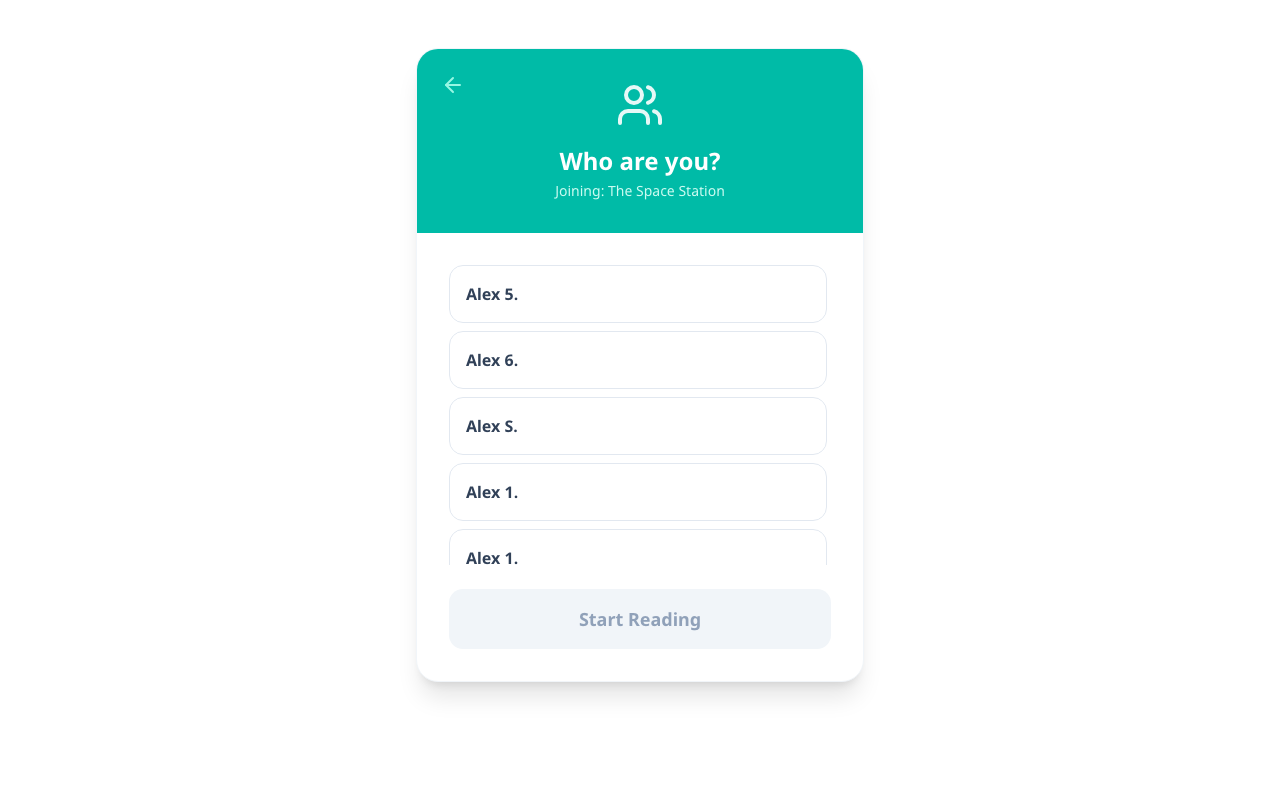
How to start reading in a group reading session
- Once you have joined and selected your name, you can start when you are ready. You do not need to wait for the teacher.
- When the passage appears, click "Start Reading" (or "Read for 1m" if timed).
- Read the text aloud clearly.
- When finished (or when the timer stops), click "Stop & Finish".
- If your teacher allowed redos, you can choose to try again or submit. Otherwise, your reading is sent automatically!
Support
Didn't find what you were looking for? Please contact us for assistance or submit feedback directly via the "Submit feedback" button in the app.